How to Create, Save, and Load Brushes in Adobe Photoshop
This tutorial will show you how to create, save and load brushes in Adobe Photoshop in just a few easy steps! Just here for the Photoshop brushes? Scroll to the bottom to skip the tutorial and go straight to the downloads.
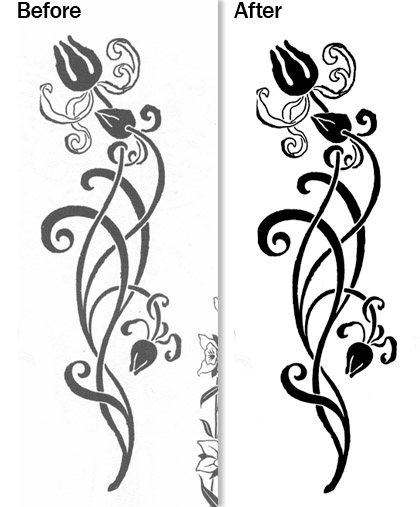
- In Adobe Photoshop, open the file you would like to make a brush out of. It’s best to use a design that is black on a white background. In this example, I will be using a public domain image I scanned of a printer’s ornament from the Dover Pictorial Archive Series.
- You may need to prepare the image by erasing excess marks, cropping, resizing, and perfecting the contrast levels.
- Now, press CTRL+A to select all.
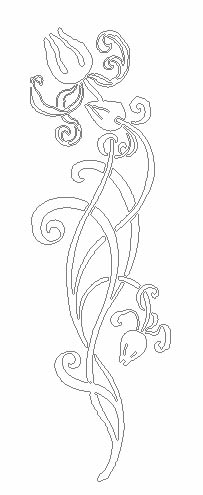
- In the toolbar, go to Edit > Define Brush Preset and title the brush appropriately. It should immediately show you an outline of your new brush.


Great! You’ve created a nifty brush that can be used over and over again. Now, let’s say you have created a bunch of similar brushes that you would like to save as a set. Here’s how it’s done:
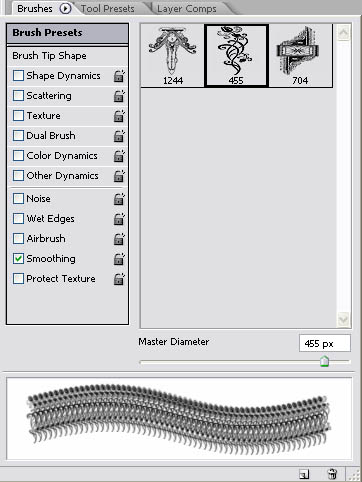
- With the brush tool still selected, hit F5 to bring up the Brushes window.
- Click on the arrow in the right corner of the tab and select Preset manager.
- Hold the CTRL button as you select all of the brushes you want to include in the set, then click on the Save Set button. Give your set a name you’ll recognize later and that’s that! It will save the file into your brushes folder by default.
Later when you want to use that set of brushes, just go to the Preset Manager in the Brushes window again and select Load Brushes. A menu will appear that will allow you to select the set you want to use. You can see in this example below that I have saved three brushes in this particular set.

Sometimes brushes are very elaborate which makes them hard to see in the preview window. Luckily, you can change this quite easily by choosing Large Thumbnail in the Preset Manager.

DOWNLOADS
That brush and many more like it can be downloaded by clicking the images below:


