A friend of ours gave us a stack of shirts that were going to be tossed out because they were obsolete now that they updated the company branding. So I’m looking at this stack of like 45 bright red shirts thinking… what the heck will I do with all this fabric?
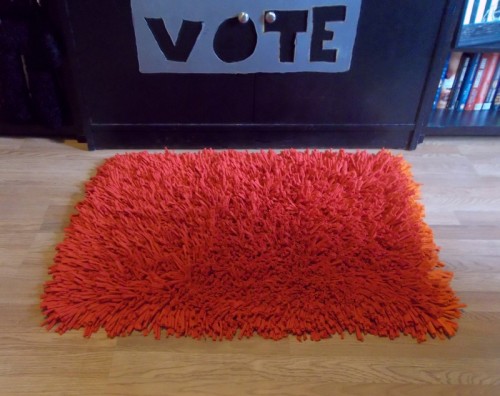
Then I remembered the rag rugs I’d been seeing on Pinterest and went in search of inspiration. I came across this tutorial by Molly Kay Stoltz and mulled it over for a few days. I knew I wanted something stronger, something more durable, and something that looked a little more like that old funky shag I loved as a kid. This is what I came up with:
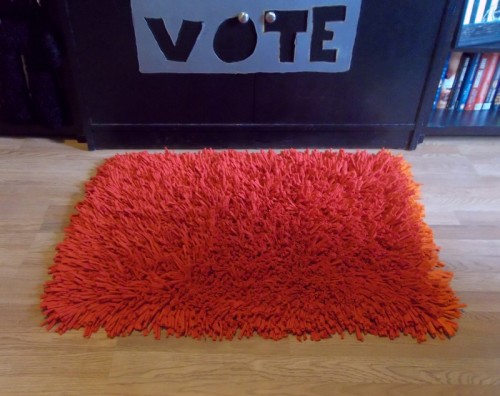
I had two different types of shirts, each from different dye lots, so one stack was bright red and the other had more of an orange tint to it. I went with the bright red since there were more of them than the other and I had no idea going in how many I would use or how big this project would be. Total, I think it took something like 30 shirts… I lost count toward the end. I didn’t want to sew, but I wanted something durable and washable. I have to hand it to myself, I love this rug and so does everyone who sees it and/or touches it! It is positively sumptuous!
Here’s how I did it:
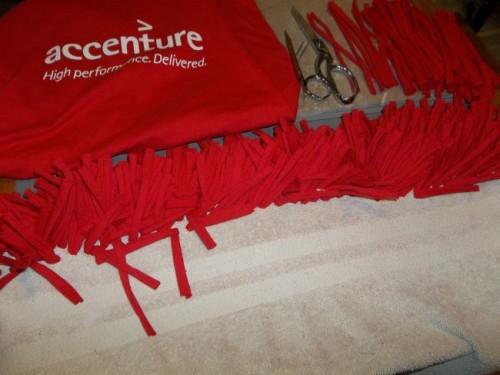
I started by cutting up the shirts. A word of advice, most brands of T-shirts, including Fruit of the Loom, the strips will roll right-side-out when you stretch them if you cut top-to-bottom. If you cut them side-to-side, most T-shirts will roll in-side-out. Now, I did find out when I made my daughter’s rug, that rule isn’t always true, so I would test them by cutting the sleeve first.
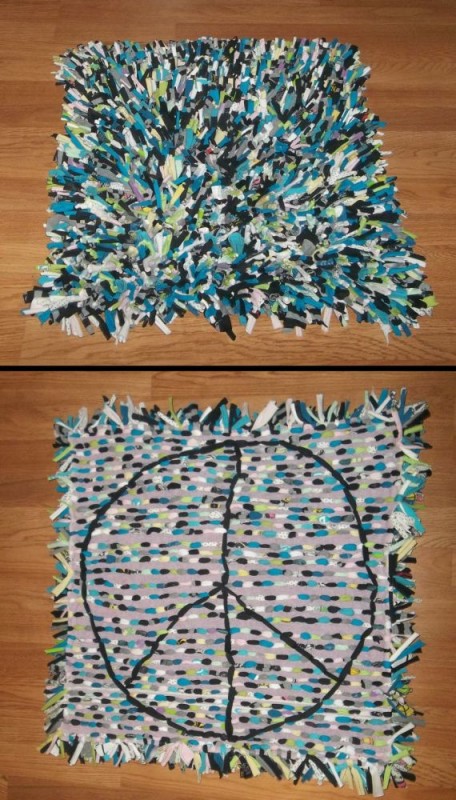
I don’t have a pic of this process, but the strips should be cut about 1.5 to 2 inches wide. Stretch them by pulling on the ends, then cut the strings into your shag pieces. This red one is made of pieces around 6 to 7 inches long, but the other one I made had strips of 4 to 5 inches long and it turned out really nice too. You wouldn’t want to go much shorter unless you planned to sew them with a machine, reason being, you don’t want the canvas or towel showing through from underneath.
Then I found an old, but tightly woven towel that had been designated as a “rag towel” because we recently bought new towels to replace the old set. It had been through the washer and dryer many-a-time so it had lost all of its terrycloth fuzz. We don’t use fabric softener (skin allergies) so it was nice and stiff. I have to say, it turned out to be an incredible canvas for this project. I made the other using a looser-knit towel and that worked just as well, so I guess if I had to recommend something strong to keep your shag together, an old towel is the way to go. I have heard other people say they use latch-hook or burlap, and in the tutorial I linked to above, Molly says she used a t-shirt (WHO CUTS UP A PERFECTLY GOOD PINK FLOYD T?!), so my bet is that you can use just about anything that won’t unravel, run or fray.
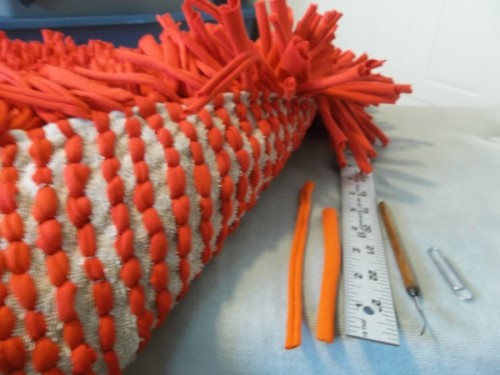
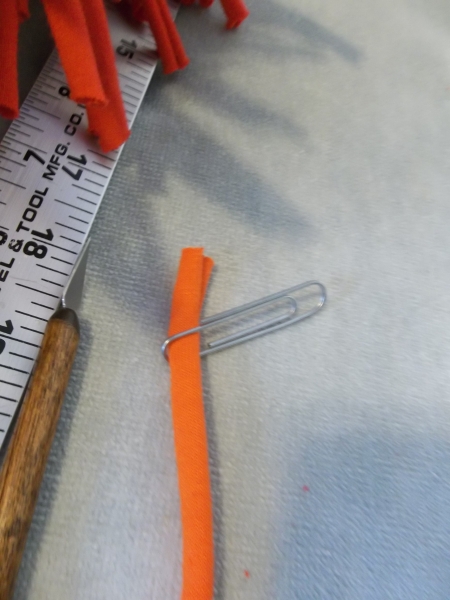
To puncture the holes, I used the spear-shaped end of a cleaning tool I picked up in a ceramics class long ago. I made the holes about 1/2 inch apart then I used a paperclip to thread the strips through.
I first cut the holes in a line then weaved the strips one row at a time, but if I were to do it again, I would mark my lines first with a water-soluble pen to ensure straight and even spacing. Keep in mind, you don’t want the holes too large because you don’t want your strips to come loose or fall out — but you don’t want to make the holes too tight either or it will be impossible to get the pieces through.
Once the holes are cut, weave your pieces in – down from the top, then up from the bottom in the next hole. In that same hole you came up in, begin to weave another. That’s really all there is to it.
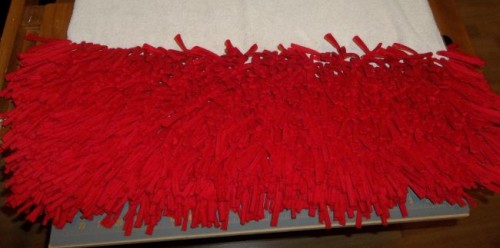
Here’s the progress made after using up 7 shirts:
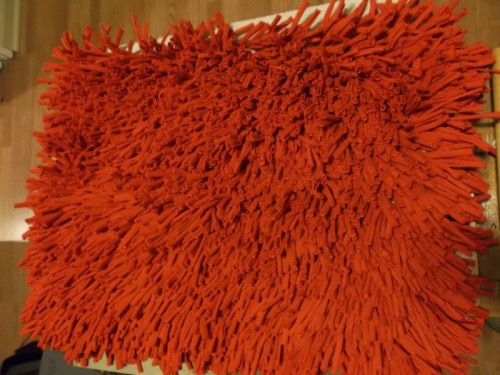
16 shirts, about halfway:
I went an extra step and tied pieces around the edges by weaving a longer strip through the very last hole, using it to tie a smaller strip. Those were the only knots I made.
Here are some close-up shots to show the tools, the back, the weave and the knot-tying:
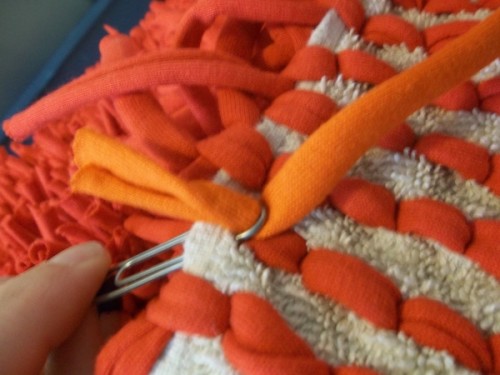
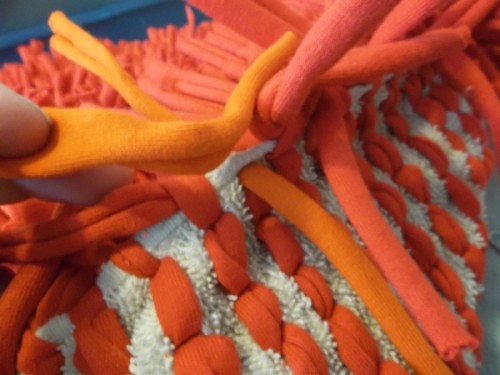
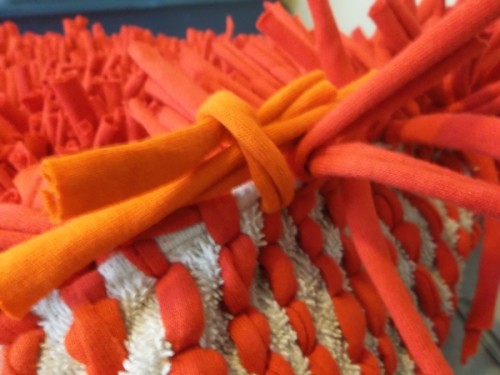
Lay the smaller strip horizontally across the long strip and use the longer strip to tie it to the edge of the canvas.
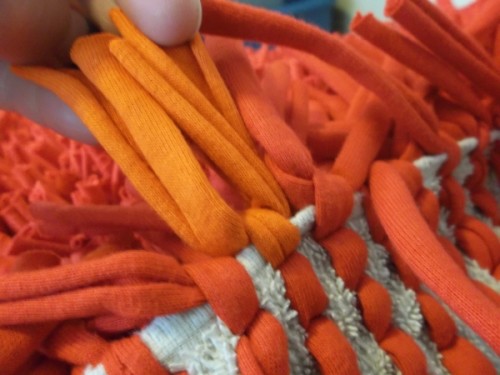
Then pull all four ends taut, in order to move the knot to the top or side of the canvas, not the bottom. If you run out of strips before you run out of towel, simply cut it off about 3/4 to 1 inch from the last line of holes, fold it under so the end meets the shag weave, and tie it off with the long and short strips as pictured above.
Here’s the back:
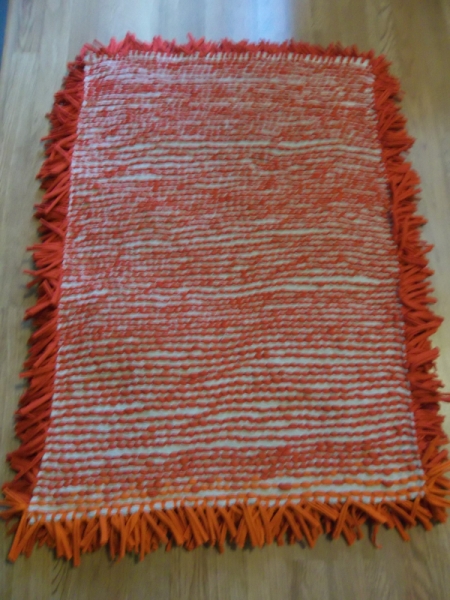
You can see now why I suggested making lines first as some of mine became wiggly here and there. There were 72 rows, not counting the ends. It just goes to show that it doesn’t have to be perfect. There’s no true science to this, just have as much fun as you can with it because, if you decide to make one on this scale (aprox. 30 by 40″), it’s going to be a long and tedious journey ahead!
Here it is before I gave it a trim…
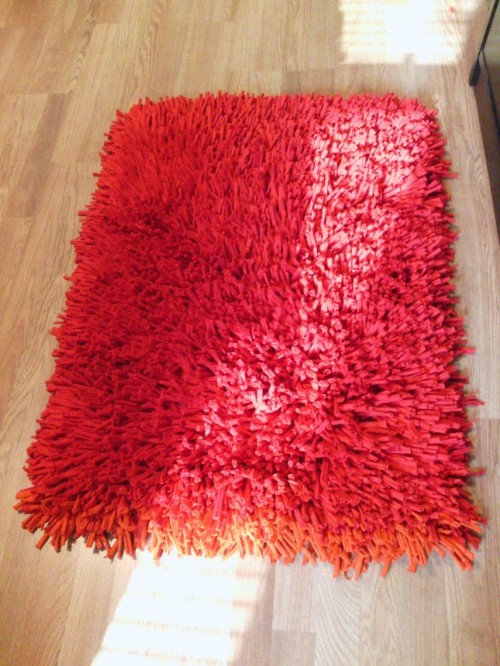
And the finished rug again:
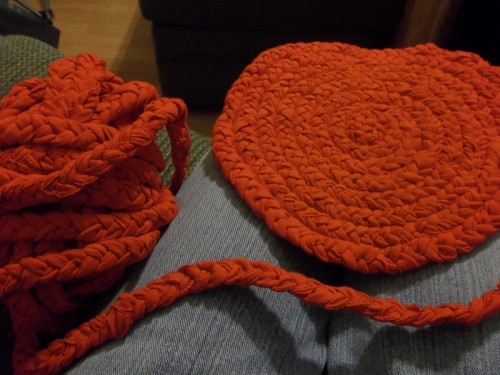
Of course, the entire time, I had been saving up the cuffs and bottom hems from all of the shirts and I had enough to make a small braided rug:
One last note in closing, as my step-mom and cousin advise, you’re not very likely to find jersey material by the yard at your local fabric store. Not the kind that curls when you stretch it anyway. You want t-shirt jersey material, though some jersey bed sheets will also curl. The idea is to re-purpose something that might have been trashed or given away. If you can gather up a bunch of beat up old t-shirts from your friends and family, that would be most ideal. Try Goodwill or rummage sales and look for complimentary colors. You can always dye them a similar color as well. In order to get a good shag-like appearance, the jersey strips should curl like a cinnamon stick when stretched.
They should not curl like bacon:
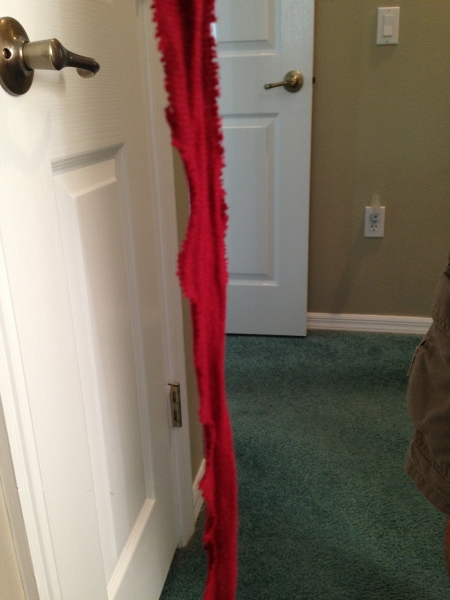
Although, a rug made out of strips like those might be pretty neato too!
That’s all folks!

Awesome craft! Thanks for the easy directions. Do you think a larger area would hold up equally well? I’m thinking a 5×8 or 6×9 size?